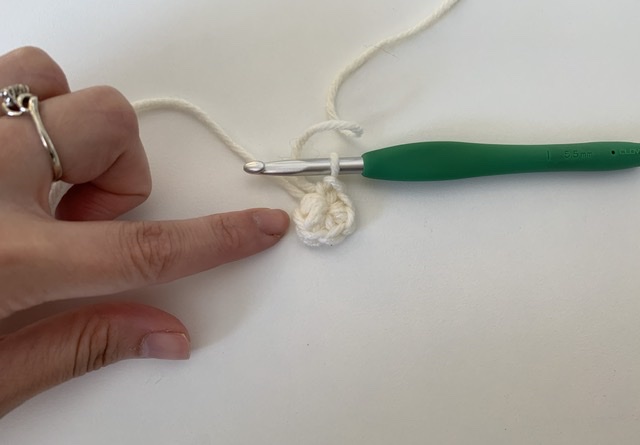
The magic ring, also called the magic circle or magic loop, is a way to create a circle for the beginning of a crochet pattern. The magic ring allows you to create a tighter centre of the circle. Learning to make a magic circle is helpful for projects that start with a circle, like amigurumi and granny squares.
You can add however many starting stitches you need to the beginning of the circle. You can also start with single crochet, half double crochet, double crochet or triple crochet. Any time a pattern states to start with making a circle you can use the magic ring method.
Notes: this tutorial is written in US crochet terms and is written showing the right-hand method.
Learn how to crochet the magic ring

Step 1: Create a loop

Create a loop. The working yarn end (the yarn coming from the skein) should cross over the tail end.
Step 2: Insert the hook through the circle

Insert the crochet hook through the centre of the loop and wrap the yarn over the hook, like you would for a yarn over. Now pull the loop through the middle of the loop.
Step 3: Create a chain

Once you bring the loop through the centre of the circle, yarn over and create a chan stitch.
*if you need start with any other stitch then single crochet stitches you will have to chain more that one. But for the purpose of this tutorial we are using single crochet stitches.
Step 4: Insert hook to start single crochet stitches

Insert the hook through the middle of the circle, yarn over and bring through the loop to create a single crochet stitch.
Step 5: continue making single crochet stitches

Continue following step 4 until you have created as many single crochets that your pattern calls for.
Step 6: Pull loop closed

Pull the tail end of the yarn until the circle is closed.
Step 7: Join the circle together

Join the last stitch to the first stitch with a slip stitch.
That’s it! You have created a magic ring with a tight centre. It may take a few times of practice. It can feel weird in the beginning trying to get used to crocheting through the loops. Keep trying and it will get easier.


Find more of my videos on YouTube here.


